StudioLive Series III - Fat Channel Plugin Installation
The new Fat Channel Plugin Collection with Universal Control 2.6+ and Firmware release 1.7.14047+ has included both Paid for and Free Plugins available for all registered StudioLive Series III Console and Rackmount mixer owners. These plugins are also compatible with Studio One 3.6.5 and greater, and can be installed through the application’s specific process. Click the link below if you are looking for Studio One install and Activation instructions.
Studio One Fat Channel Plugin Installation/Activation
Fat Channel Plugin Installation
NOTE: If you are installing these Plugins on multiple mixers, make sure to complete both Installation and Activation of the plugins with one mixer at a time, making sure the network/USB is disconnected or the mixer(s) are turned off before continuing.
Once you’ve purchased plug-ins, either individually or in a bundle, you’ll find them in your My PreSonus user account. To authorize it on your mixer, launch UC Surface on a device that is both networked to your mixer and has Internet access.
Please Note: Universal Control v2.6 or later is required to complete these instructions. In order to purchase these plugins, a valid copy of Studio One must be in your account or a registered StudioLive Series III mixer.
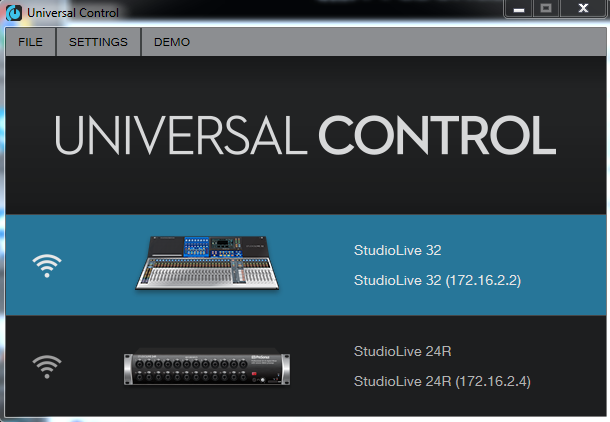
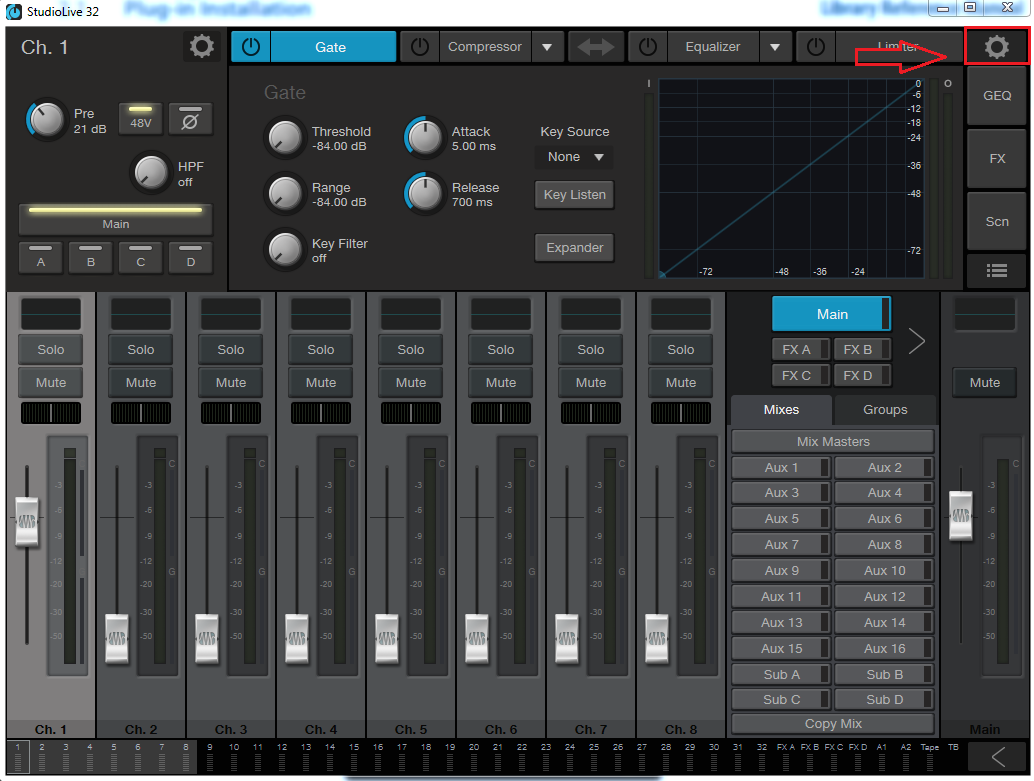
- Connect to your mixer to UC Surface > Click the mixer you want to install the plugins on and tap or click on the Settings icon:
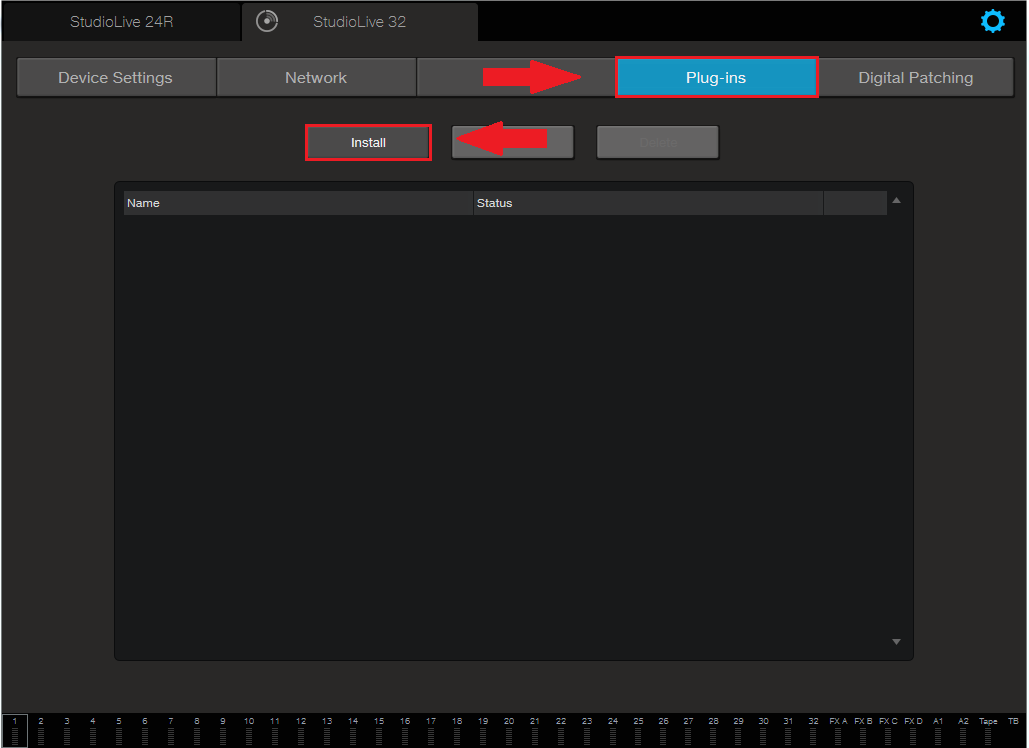
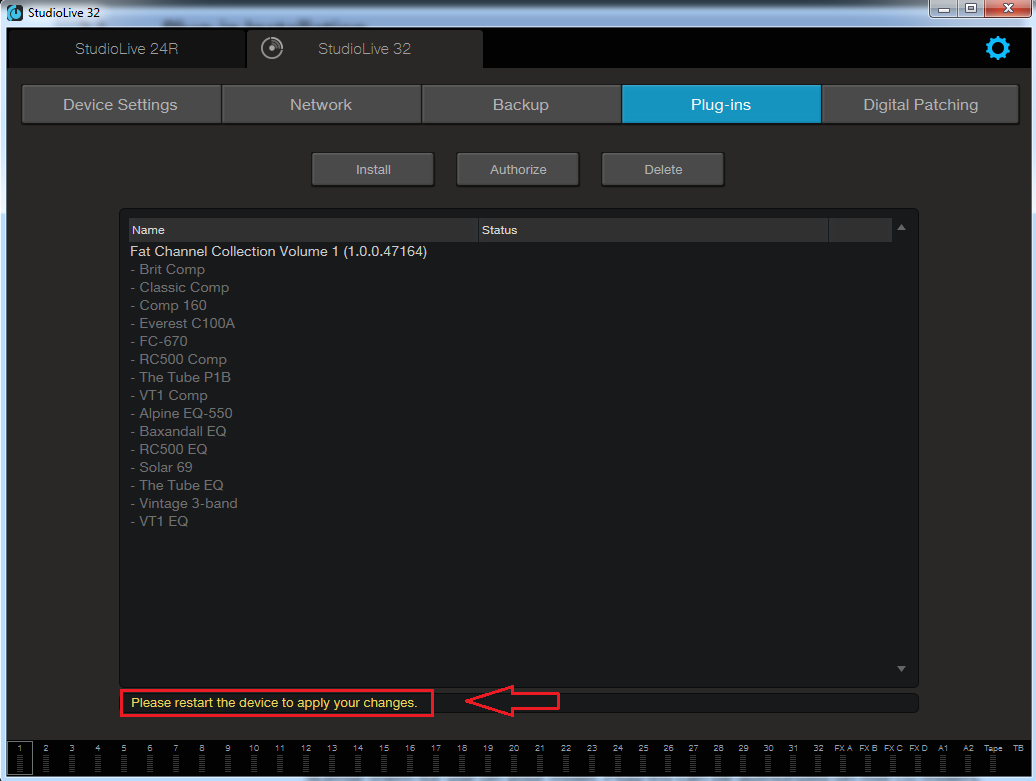
- Select the Plug-ins tab and click the “Install” button on the Plugins tab.
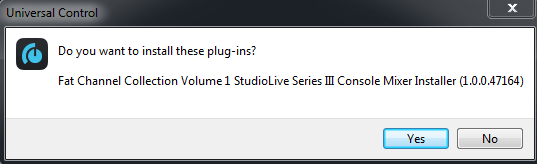
- At this point you will receive one of two prompts:
a. You will be asked to log into your PreSonus User Account.
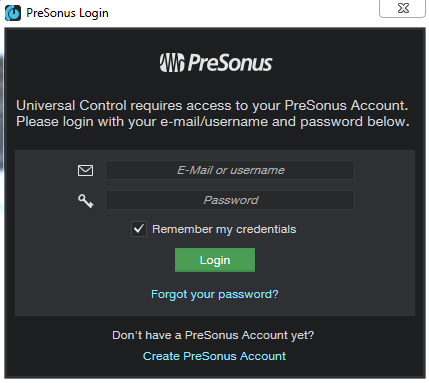
NOTE: An account is necessary to purchase plugins and a registered StudioLive Series III console or rackmount must be in that account first. If you have not done so, go to your My PreSonus Account page and register your Product.
b. If you are already logged into your PreSonus User Account, you should get a prompt mentioning the plugins or plugin bundle you are currently installing from your PreSonus User Account. Click “Yes.”
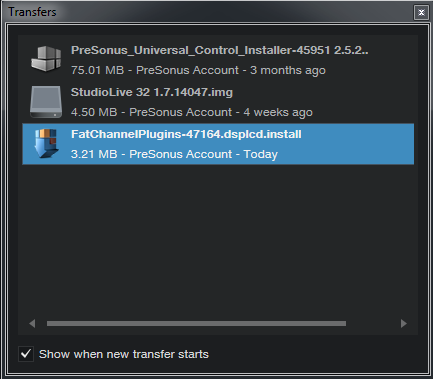
- The Transfer window downloading the plugins will show and when completed, UC Surface will initialize the download process and update the mixer.
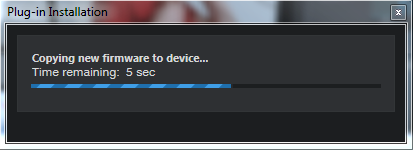
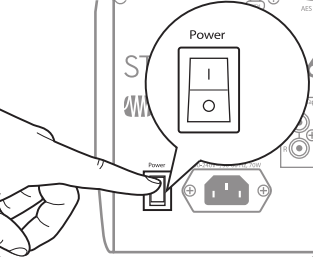
- When completed, you should see a message in the Plugin window stating to power cycle your mixer. It is safe to do so at this time. Upon boot up, the plugins should not be installed!
NOTE: Plugin Authorization is necessary as to not get any other error messages placing your StudioLive mixer plugins on other consoles. Plugin Activations per user account registration are limited to five (5) mixers at once. The Plugin Authorization will keep your mixer recognized as an authorized installation. See the link below for more details on this process.
StudioLive Series III - Fat Channel Plugin Activation
If you have any issues with this plugin installation instructions, please see the Fat Channel Plugin Addendum manual on your My PreSonus Account under your Hardware Registration or on our Downloads Page for your product.