aving a Fat Channel Preset
If you have created a channel-strip setting in the Fat Channel that you would like to
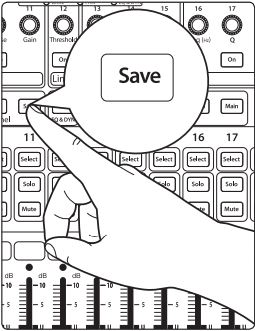
save to the Channel Preset library, press the Fat Channel’s Save button.
1. You will notice that the LCD will display the Channel Preset
Save menu. Use the Value encoder to scroll to an empty
position in the Channel Preset library.
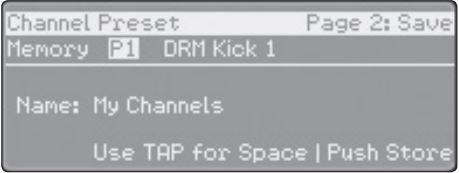
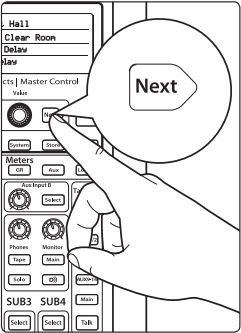
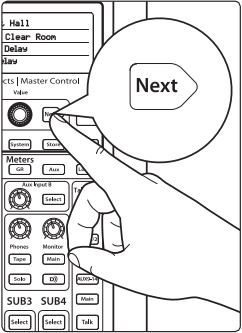
2. Press the Next button to navigate to the category location.
3. Use the Value encoder to scroll to the category in which your
preset would fit (DRM, VOX, GTR, etc.).
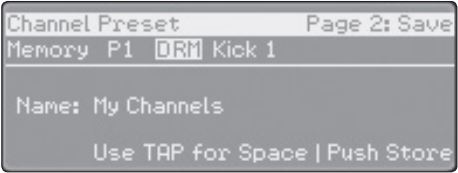
4. Press the Next button again to navigate to the first letter of the preset name.
5. Turn the Value encoder clockwise or counter-clockwise to change the letter. The
StudioLive allows you to customize the name with uppercase and lowercase
letters, as well as a selection of numerals and punctuation marks. You can insert a
space by simply pressing the Tap button.

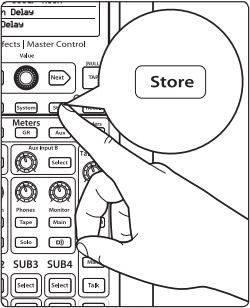
6. Once you are satisfied with your changes, press the Store button. It will illuminate
while the Channel preset is being written to the StudioLive’s internal memory.
Once the Channel preset is saved, the Store button will return to its unlit state.
*********************************************************
Loading a Channel Preset
The StudioLive comes with a suite of channel-strip presets created
by professional users of PreSonus products. These presets provide
a great jumping-off point to create a mix quickly and easily. The
StudioLive also allows you to create your own library of presets.
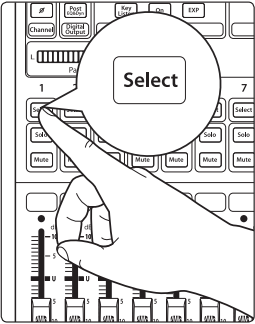
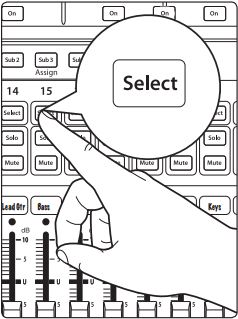
1. To load a preset to any channel on the StudioLive, first press the Select button for
the desired channel.
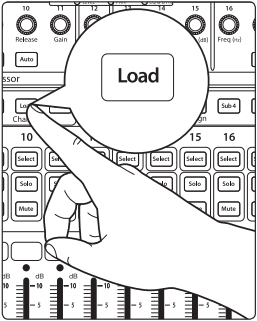
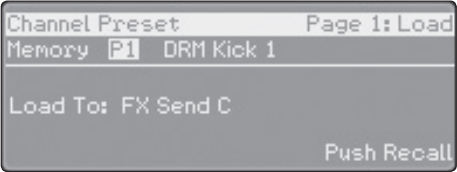
2. From the Fat Channel, press the Load button. You will notice that the LCD now
displays the Channel Preset Load menu.
3. The Channel Preset Load menu always displays the selected
channel onto which the preset will be loaded. Use the Value
encoder to locate scroll through the preset library.
You can also press the Next button to scroll through
preset categories. You can choose from: DRM – Drum, BAS
– Bass, GTR – Guitar, KEY – Keyboards, HRN – Horns, PRC –
Percussion, VOX – Vocal, SYS – System, MIS – Miscellaneous.
Once you have selected the category, press the Next button and use the
Value encoder to scroll through the presets within that category.
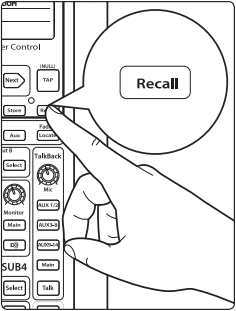
4. Once you have made your selection, press the Recall button. If at any time you
would like to cancel this operation, simply press the Load button again.
Power User Tip: Load will stay active until you press the button again to disable it, even if
you select another channel. Because of this, you can quickly add a preset to every channel
and give yourself a jumping-off point to dial in your mix.
*********************************************************
Copying Fat Channel Presets
In addition to being able to create and save custom Fat Channel
presets, every setting in the Fat Channel can be copied from
one channel or bus to any other channel or bus.
1. Select the Channel you wish to copy it's settings.

Then, press the Copy button to copy the settings on the selected channel
or bus. Every Select button on the StudioLive except the button for the currently
selected channel will begin to flash. The Select button for the selected channel
will not illuminate. You can copy a Fat Channel setting from any channel or bus
to any combination of channels and buses.

2. To paste the current channel’s Fat Channel setting to another channel or bus,
simply press that channel’s Select button. It will stop flashing and will illuminate.
3. After you have selected every channel to which you want the settings pasted,
press the Load button. The StudioLive will return to its normal state, indicating that
the Fat Channel settings have been successfully pasted.