StudioLive RM series mixer Firmware Recovery Process
***************************************
It is highly suggested that when doing firmware updates or the Firmware Recovery process that you complete this process with a Sandisk drive as mentioned on the below knowledge base article. Not all flash drives will be able to complete this process correctly, and the suggested drives have been tested well to complete this process:
SanDisk Cruzer USB Flash Drive Compatibility with StudioLive AI
***************************************
NOTE: The Firmware Recovery is a complete re-flash of the mixer firmware, restoring the mixer to its factory default state. It will completely remove any user created scenes or presets, as well as any network information or other settings stored on the mixer, and rewrite all factory presets.
If you need to save your user created scenes and presets from your StudioLive Ai mixer, please consult your StudioLive RM series Owners Manual, Section 5.1, pg. 26
Please note, a mixer Backup will only backup your saved Scenes, Mix Scenes, Mute Groups, and Fat Channel presets. It does NOT store the current mix or current settings of the mixer. You must first save this as a Scene to the internal Scene Memory of the mixer so that a Backup will capture that information.
***************************************
Your StudioLive RM Series mixer can be updated by simply connecting a USB thumb drive loaded with the firmware files.
Please be sure to review all instructions before updating your StudioLive RM Series mixer.
1. Download the firmware files for your mixer. You must first register your mixer in your http://my.presonus.com account in order to access the firmware update download. The Firmware files can be found on the "View More Details" link on your StudioLive RM mixer when you log into your Presonus User Account.
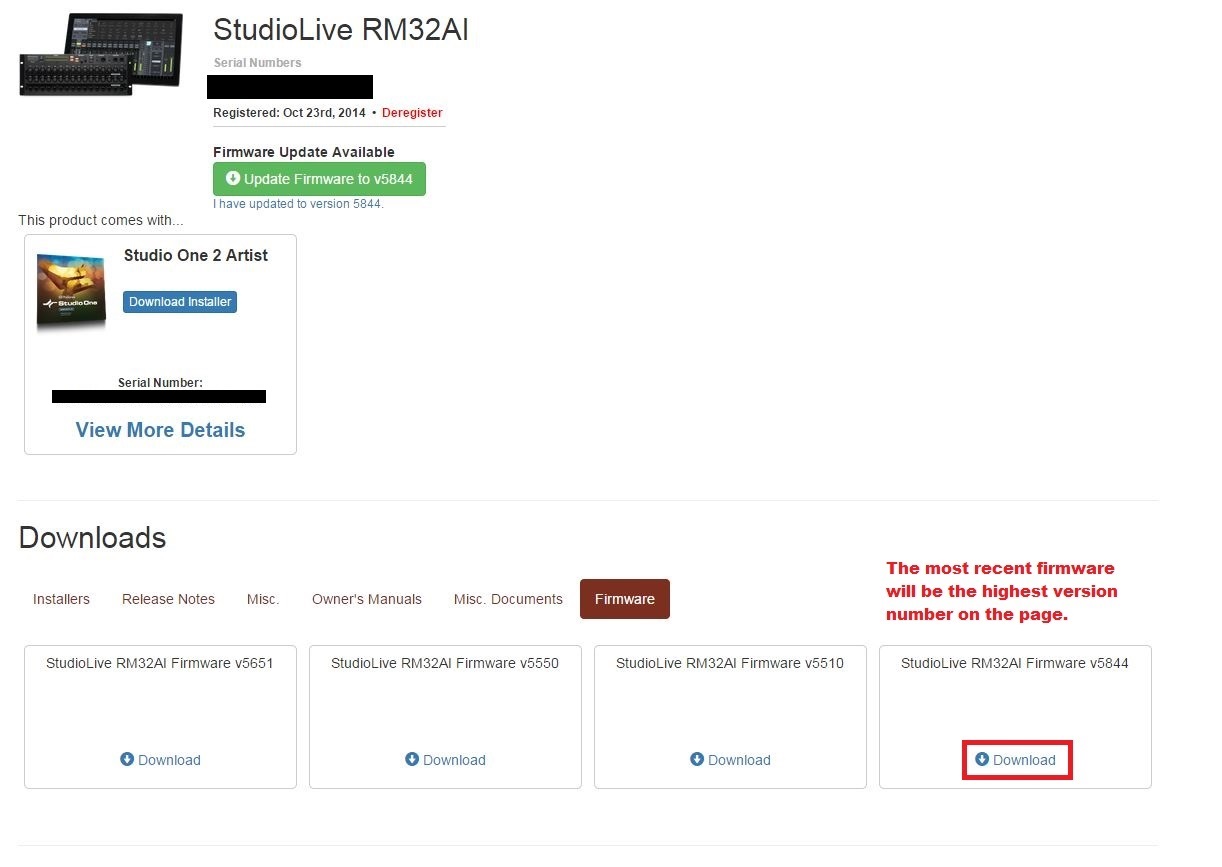
2. Open your “Downloads” folder and locate the downloaded firmware .zip file. The .zip file will be named with your mixer’s model number and the new firmware version (e.g., RM32AI_v5550).
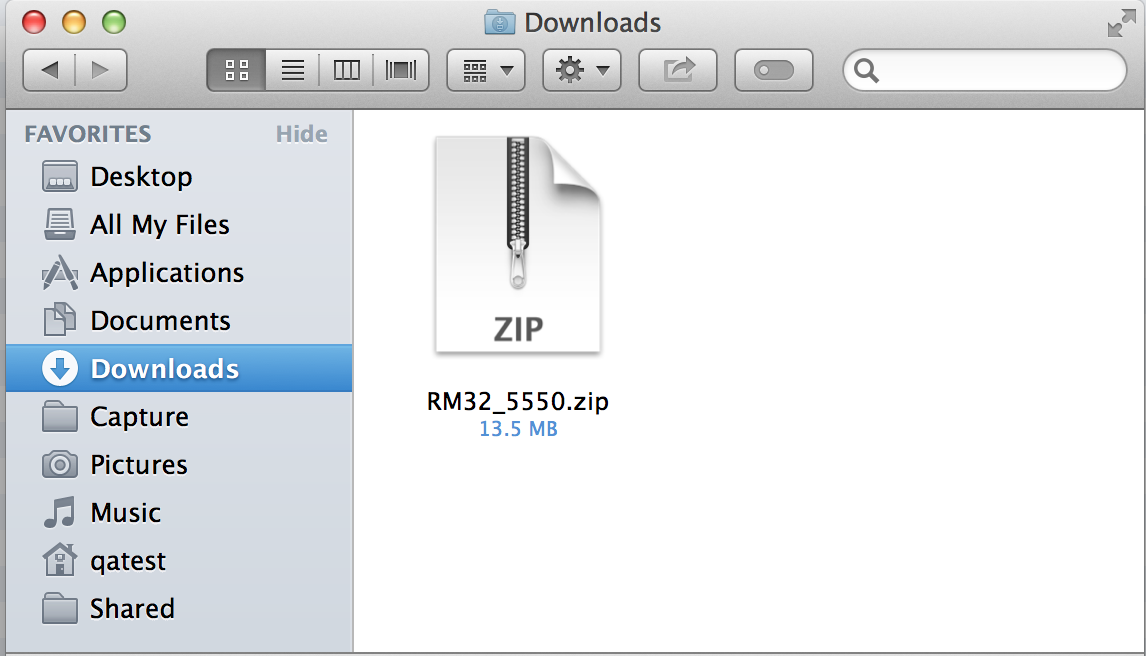
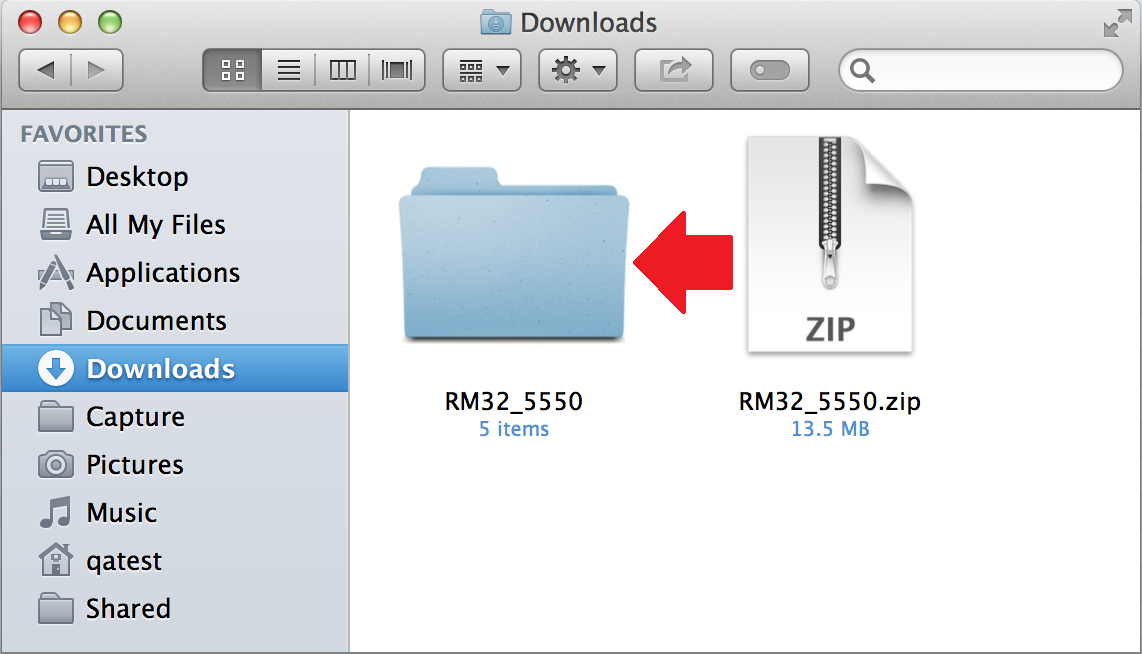
3. Depending on your system preferences, the firmware folder may not automatically uncompress from the .zip file. To expand, simply double-click it.
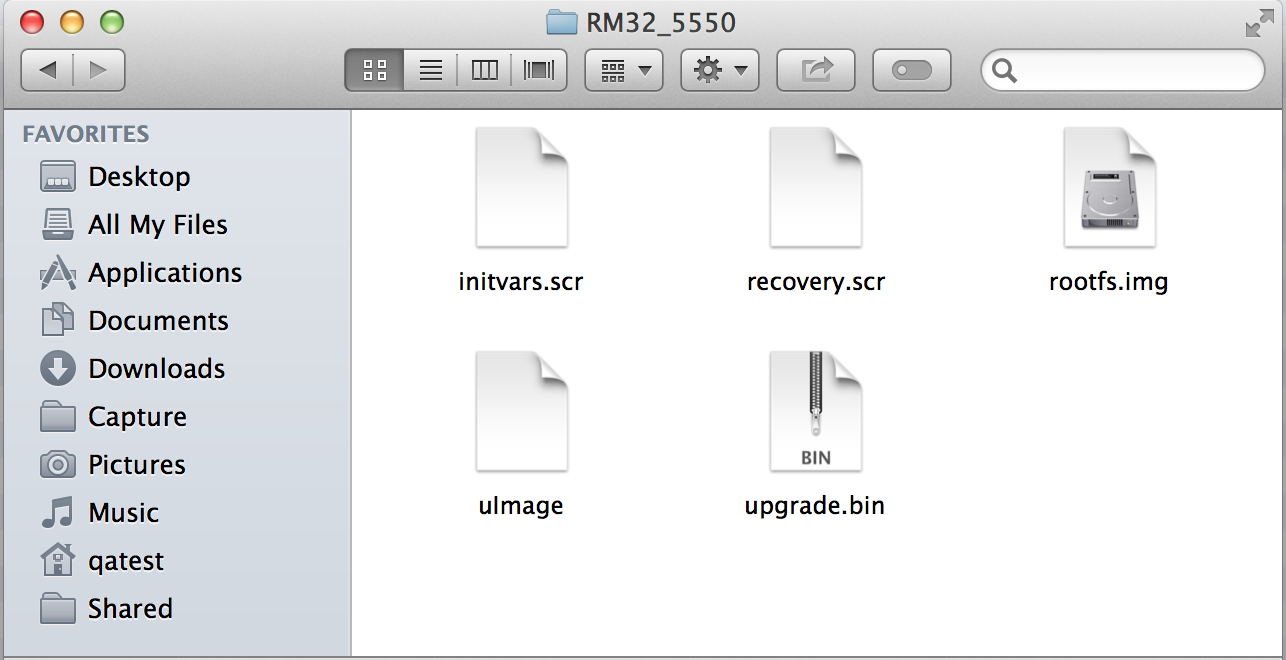
4. Open the firmware folder; you will find five files inside:
– Initvars.scr
–Recovery.scr
– Rootfs.img
– uImage
– Upgrade.bin
You will need all five files to upgrade your mixer.
5. Connect a FAT32-formatted USB thumb drive to your computer.
Power User Tip: Most small USB drives (16 GB or less) are already formatted correctly, so no formatting is required. If your mixer does not detect your thumb drive, verify that it is formatted correctly. Also, it is important that you use a drive no smaller than 1 GB and no larger than 32 GB in size. When in doubt, it's a good idea to go ahead and re-format your thumb drive as FAT32. On Windows, be sure to do a "Full" format as opposed to a "Quick" format. On Macs, the choice will be listed as MS-DOS (Fat)
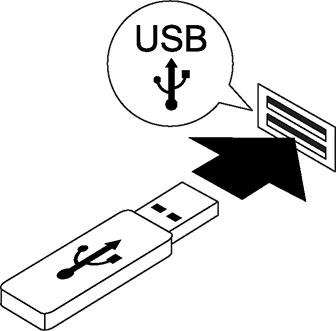
6. Select all five firmware files and either copy/paste or drag them to the root of your thumb drive. Eject your drive and disconnect it from your computer.

7. Power off your mixer, remove your WiFi LAN adapter (if inserted) and insert the thumb drive into the USB slot on the front the mixer.
8. Next, take a Philips head screwdriver and on the back of the StudioLive mixer, loosen the screws securing the option card. Pull the option card out an inch or two so that it is no longer seated in its internal slot and then power on the mixer.

Note: When the mixer is powered on with the option card removed, it will automatically attempt to do a Firmware Recovery. If the USB thumb drive is recognized and the firmware files are seen, it will begin the Firmware Recovery process after about . To indicate the progress of the Firmware Recovery, the LED input indicators on the front of the mixer will illuminate amber in pairs from left to right.

The Firmware Recovery process takes about 10 minutes to complete. Once all LED indicator lights have illuminated amber, they will all turn green to indicate completion of the initial Recovery process, and at this point you can power off the mixer.

9. Once you have powered the mixer off, make sure to put the option card back into the mixer and secure the thumb screws on the unit. At this point you can also remove the USB thumb drive and if you plan on using WiFi to connect the mixer to the network, you can insert the USB wireless dongle back into your mixer.
PLEASE NOTE (VERY IMPORTANT): Once you have power-cycled the mixer after the initial firmware update step, it may need to finish some final components of the firmware programming. If this is the case, you will see the Channel LEDs on the front of the mixer illuminate amber from left to right as before during the initial Recovery process, and this can take several minutes to complete. Once the final portion of the update is complete, all the Channel LEDs will again illuminate green. When you see this, power cycle the mixer again. This process may occur several times depending on which firmware version you are upgrading from and to. If your mixer does not perform these additional steps do not be alarmed, as it may not be necessary for this particular update.
NOTE: If you are doing a Factory Reset on your RM Mixer with firmware version 6184 or earlier, please watch the video link below showing what you may expect after updates.
10. Restart UC Surface and revisit the Device Settings Tab in the Settings Menu and observe the firmware version reported. The last 4 digits of the firmware version reported here should match the version of the files you downloaded for your mixer.