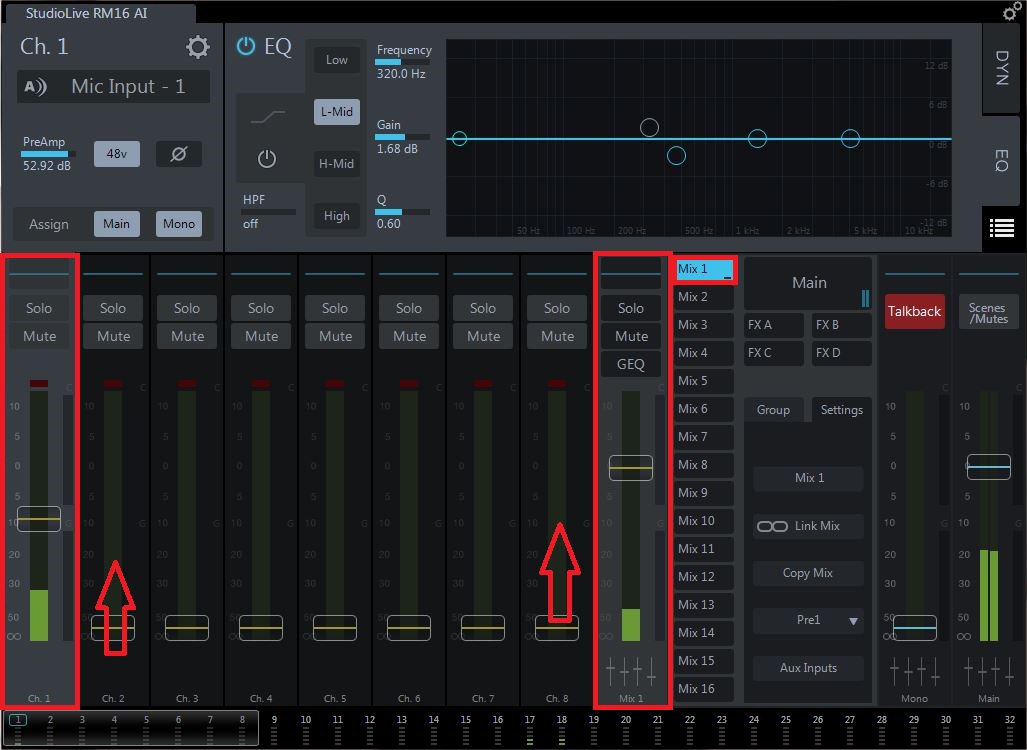
1. Connect a source to your StudioLive mixer and make sure the preamp volume is at a good volume input. Turn up the input fader and the Main L/R output fader on the Right hand side.

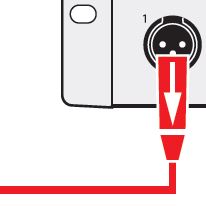
2. Plug a XLR cable to a sound source (i.e. In-Ear Monitor system, Monitor speaker/amplifier, etc.) on Auxiliary output 1. Make sure the speaker is on and functioning.


3. Click on the "Mix 1" tab to control Auxiliary output 1. Turn up the Mix 1 "Flex Fader on the right hand side to Unity >> Turn up the input you would like to send to Auxiliary 1 output. At this point, you should be receiving audio through your speaker.

Setting up and understanding Stereo outputs
When using Stereo outputs to Stereo In Ear Systems, or through two different speakers, you will be linking Mix channels and using the two individual linked outputs paired to the source you are feeding it into. To do this:
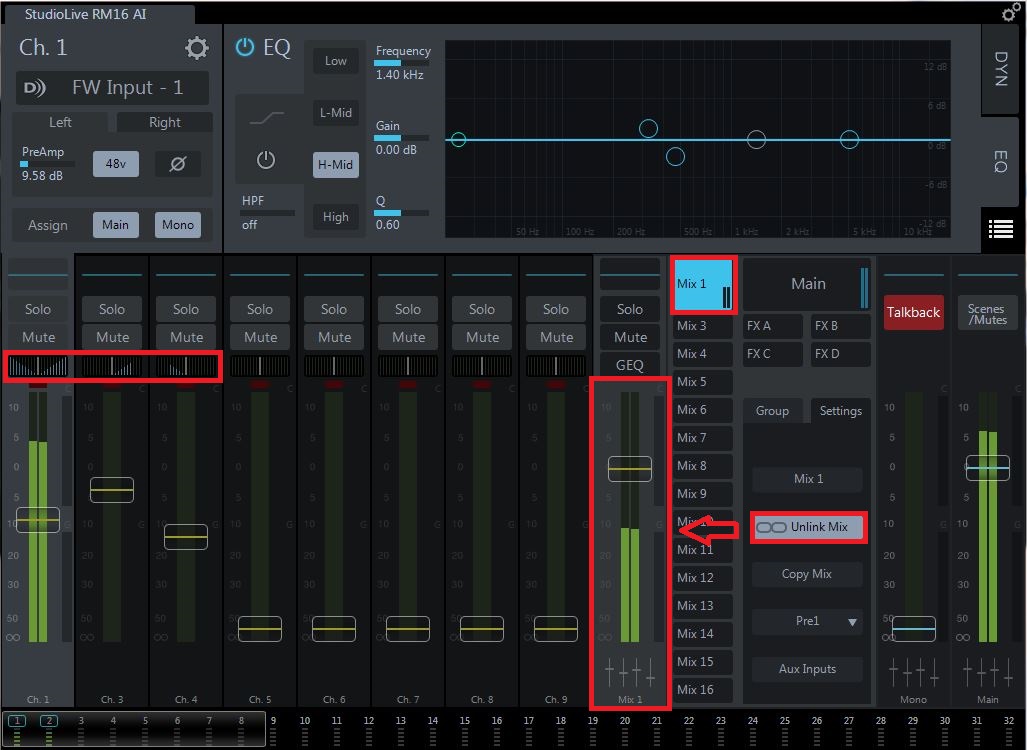
Select "Mix 1" in your source outputs. >> Click the "Link" button in the settings page >> You will then notice that the Flex Fader for Mix 1 is now a Stereo output (which is assigned now to 1 and 2 outputs).
NOTE: Pan controls are now available above each channel. The Stereo control can be changed in Left/Right to Center pan on Stereo inputs, and Mono inputs can be panned either Left or Right respectively.

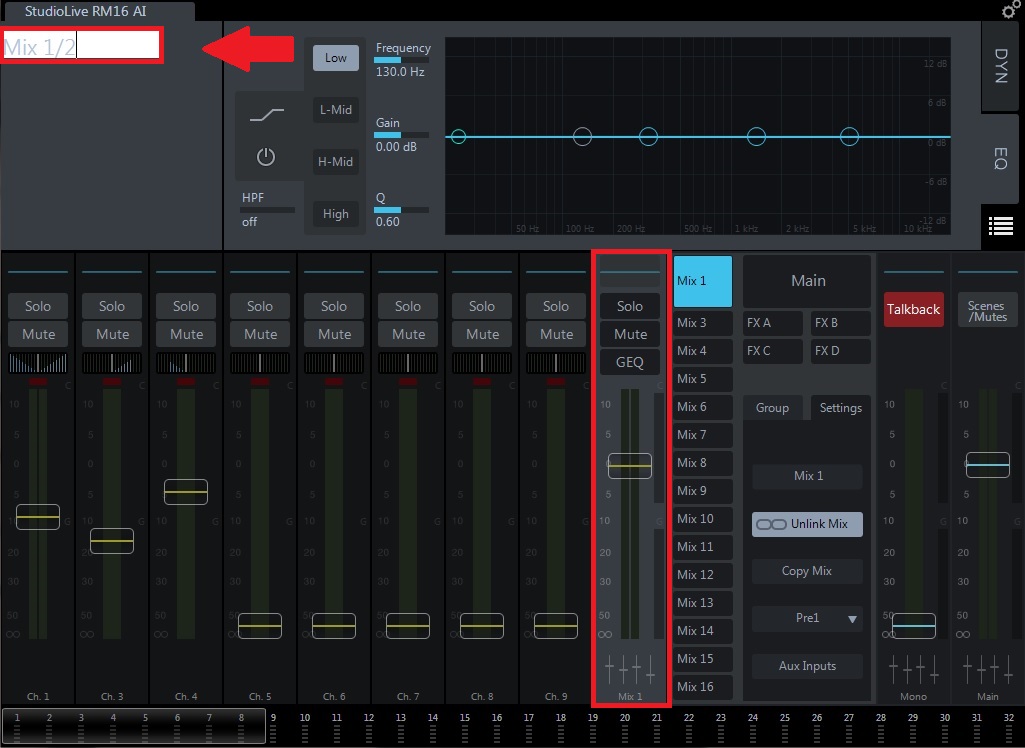
To Rename your Auxiliary mix, click on the Flex Fader to select editing properties. >> Click on the naming area in the upper left hand corner.
