There are at least two main advantages to creating an effects mix, rather than
inserting an effect in a channel. First, several channels can be sent to a single
processor. In addition to greatly simplifying the number of parameters you
have to control, this can create a cohesive sound in your mix. The second
advantage of creating an effects mix is that you can vary the level sent from
each channel to the processor, rather than patching the output directly into the
effect. This allows you to add a lot or a little of an effect to any given channel.
The StudioLive features two internal effects buses. These are used much
in the same way the aux buses are used to create monitor mixes.
(StudioLive AI mixers have 4 - two reverb units and two delay units).
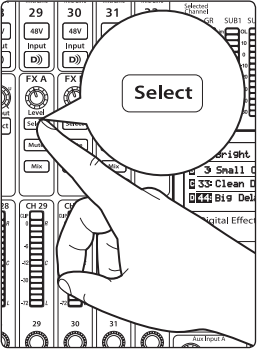
1. To begin, press the FXA Select button and decide to which outputs you’d like to
route your effects mix.
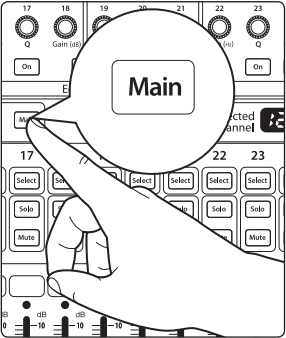
2. To patch your effects mix to any of the subgroups or to the Main outputs, press the
desired output’s button in the Assign section of the Fat Channel.
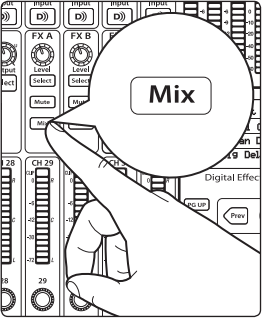
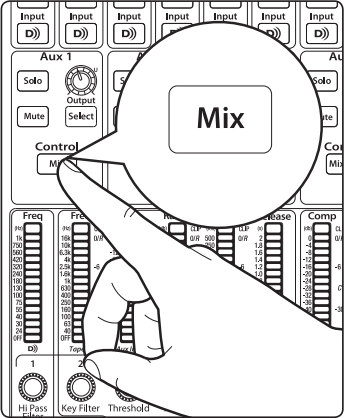
3. Next, press the Mix button in the FXA section. The Fat Channel meters will display
the send level of each of the input channels to FXA. The encoders below each
meter control the channel’s level in FXA’s mix. Use these encoders the same way
that you use the faders to set the output level to your main mix. The higher a
channel’s level is in the effects mix, the more processed (“wetter”) it will sound.
Let’s say that you are using reverb to liven up a relatively dead room. You
might send a little bit of each input to the reverb, but you probably will not
want much of the drums and bass to be processed, as too much reverb could
reduce their impact and leave your mix without a sturdy foundation. So rather
than turning the aux-send level for the kick drum channel all the way up,
turn it so that the meter reads between 20% and 30% saturation. This way,
only a small portion of the kick-drum input will be affected by the reverb.
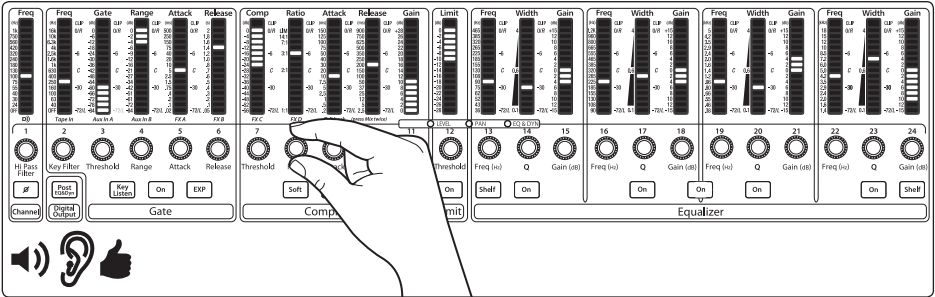
4. By pressing the FXA Select button again, you can add dynamics
processing and EQ to the overall monitor mix. These are great
for adding sustain, removing too much ring, etc.
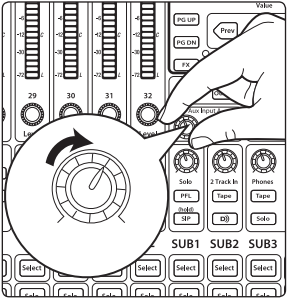
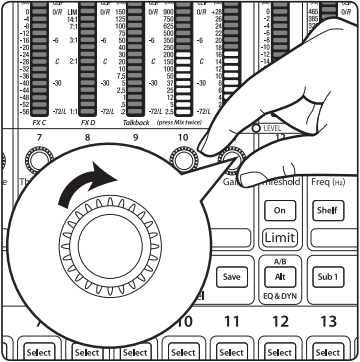
5. Use the FXA Level knob to increase or decrease the overall effects-mix send level and make sure to turn up the fader of the channels that the FX is on to listen to the reverb/delay set.
6. To send FXA’s mix to a monitor mix, press that aux bus’s Mix button twice and use
Encoder 5 to dial in the right level. (Encoders 6 and above control all FX send levels.)
If you are trying to send FX through an Auxiliary Mix, please see the below videos on creating a Monitor mix, and also routing FX through that Monitor Mix output for futher information on Step 6.
How to setup a Monitor Mix
Adding Effects to Monitors
External FX Mixes
NOTE: When cascading StudioLive mixers, It is suggested that these instructions be followed on the Master mixer only. This is for the purpose of being able to record the Auxiliary A and B inputs as well as preferred routing from all buses on cascaded mixers.
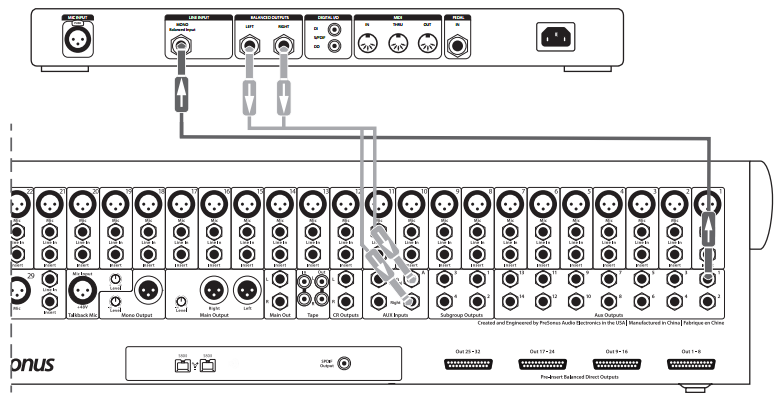
1. To begin, connect the Aux 1 output to the input of your
external effects processor and connect the outputs of your
processor to Aux In A of your StudioLive, as illustrated above.
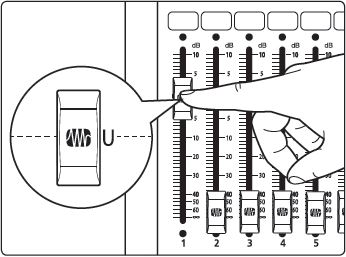
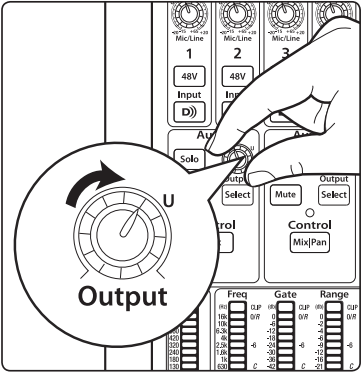
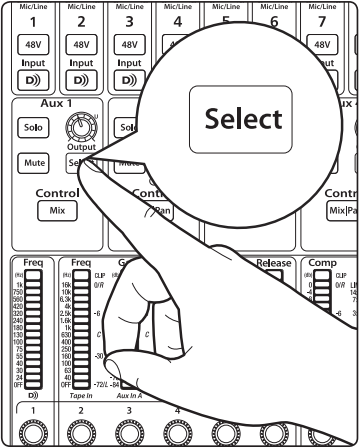
2. Turn the Output knob in the Aux 1 section to Unity.
3. Press the Aux In A Select button.
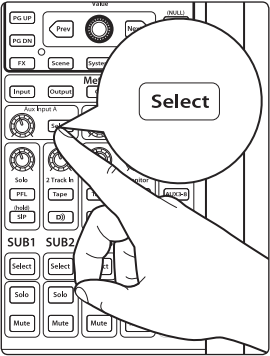
4. In the Fat Channel, assign Aux In A to the main outputs.
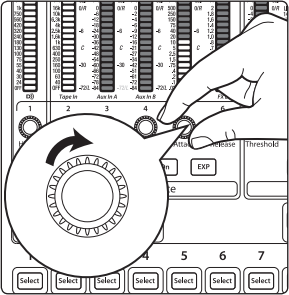
5. Press the Mix button for Aux 1. The Fat Channel meters will display each input
channel’s send level to Aux 1. The encoders below each meter control the
channel’s level in Aux 1’s mix. You will use these encoders to set the send levels for
each channel to the effects processor, the same way you used them to create a
monitor mix. As with creating an internal FX mix, the higher a channel’s level is in
the FX mix, the more processed (“wetter”) it will sound.
6. Once you have determined your effects mix, you can press the Select button for
Aux 1 to add dynamics processing and EQ to the aux mix before it is sent to the
external effects processor.
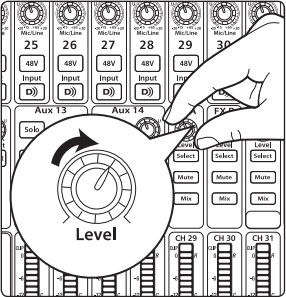
7. The Level knob for Aux Input A controls the level of the aux mix relative to the level
of your main mix.