For troubleshooting existing StudioLive Ai networks already setup,
please see the troubleshooting information at the bottom of the page.
***Important note concerning StudioLive AI series mixers***
StudioLive Ai mixers function different than the Classic StudioLive mixers.
Before continuing through the Network setup, please be aware of the different connections on your
StudioLive Ai mixer and its proper function for networking your iOS devices and computers.
StudioLive XX.4.2 Ai - Connections and Networking Page
If you are looking for SL Remote troubleshooting instructions for Classic StudioLive mixers, please see this knowledge base article below:
SL Remote and QMix Troubleshooting Guide
Connecting your StudioLive AI to your Network
NOTE: For the best performance and to reduce the possibility of networking complications, we recommend choosing onenetwork connection method or the other (either Ethernet or WiFi) and making sure to power on the mixer using only the chosen network connection method. Since the WiFi dongle is not hot-pluggable and since having two network connections active can potentially cause connection problems, before turning the mixer on you should connect only the network connection you plan to use, so as to insure that the mixer boots with only one active network connection.
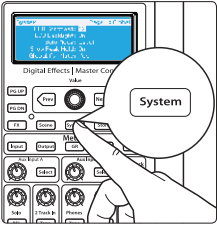
1. Press the System button on your StudioLive to open the System menu.
2. Page down to Page 2: Network
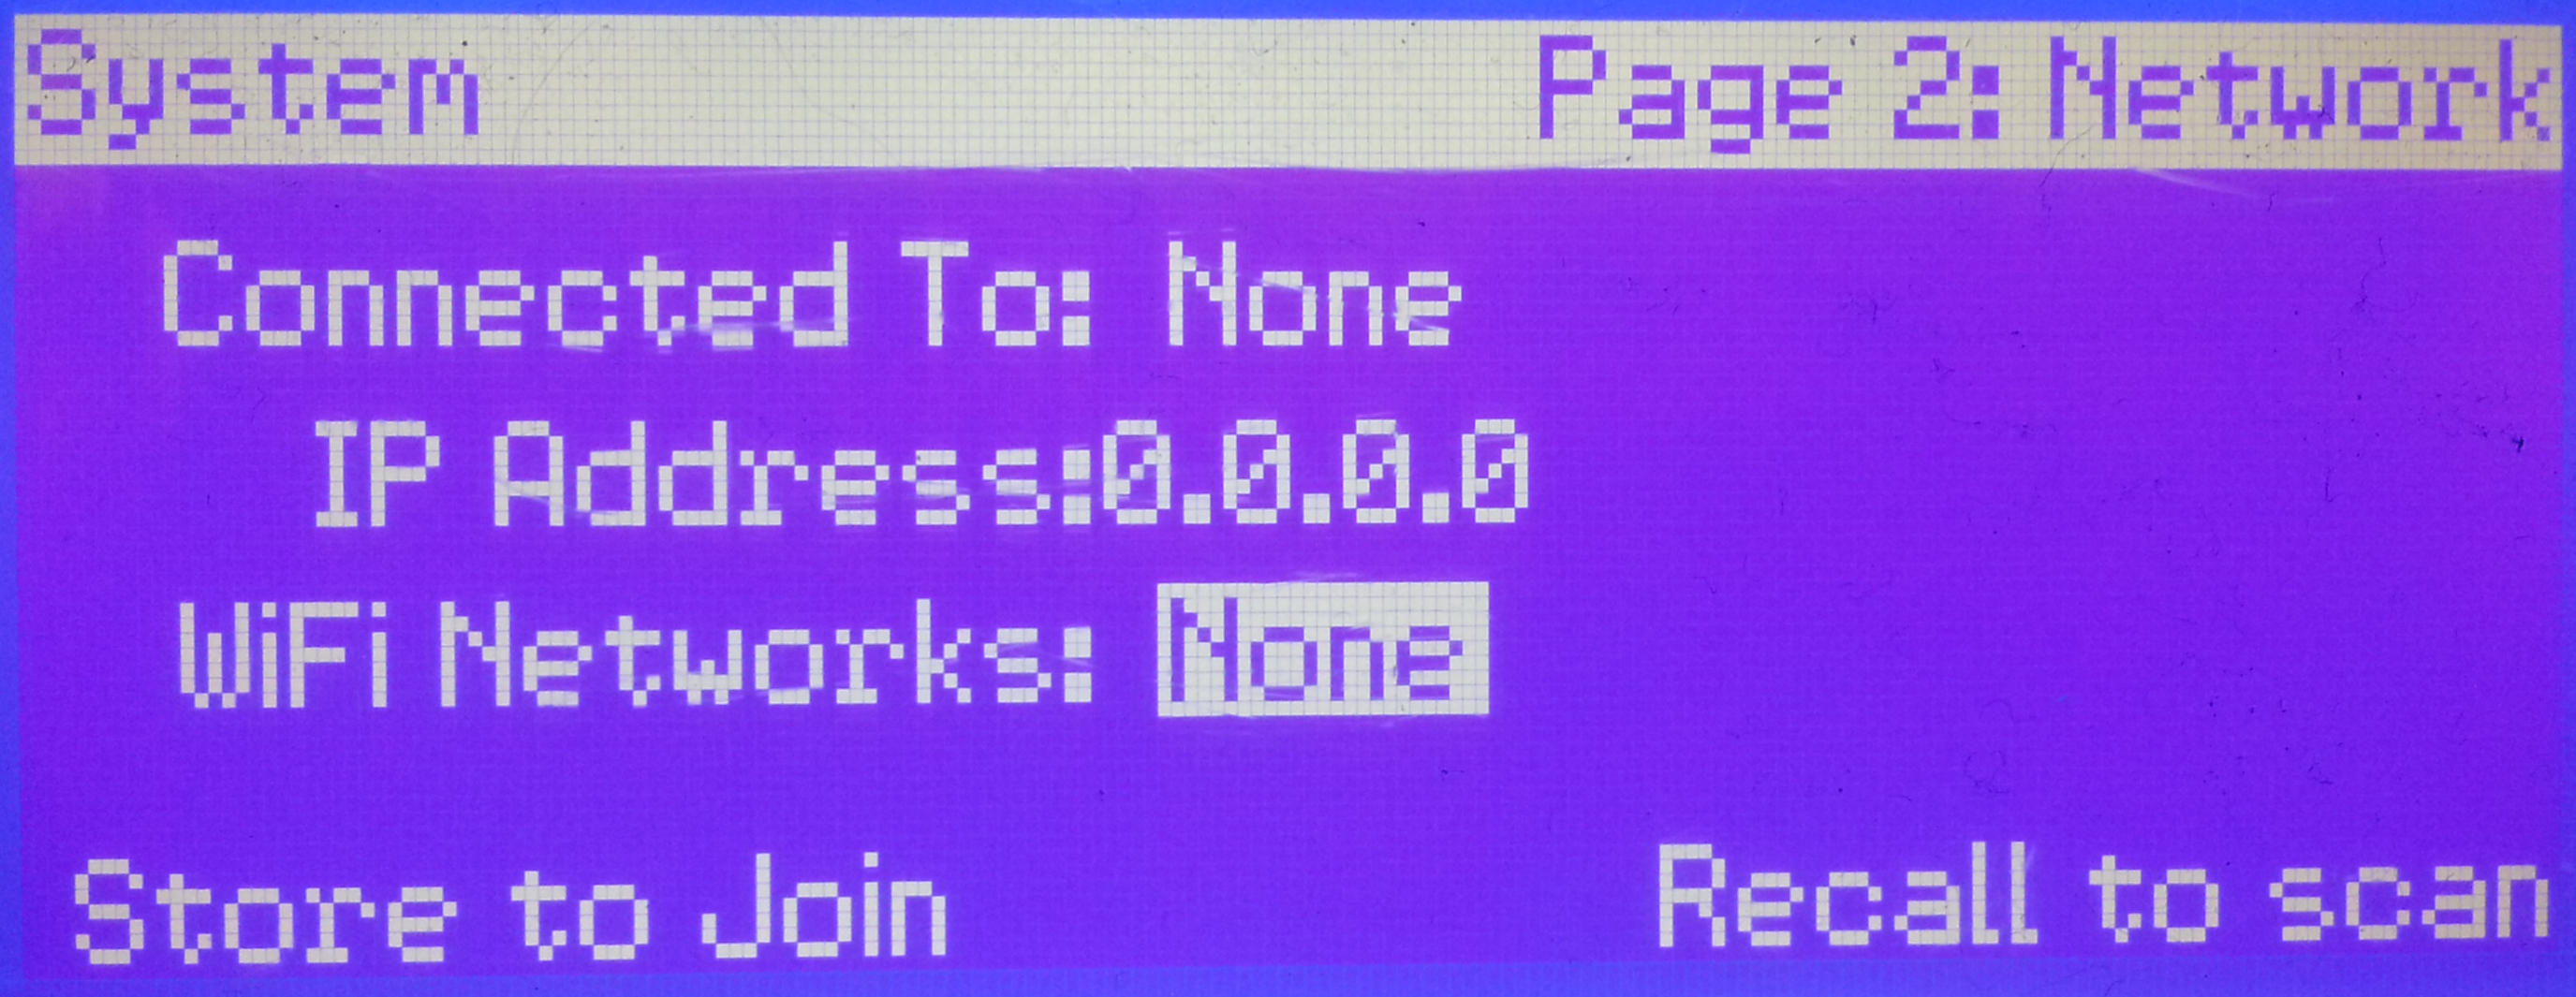
If you're using the mixer’s Ethernet port to make your network connection, no further action is necessary. Your mixer will automatically request an IP address from your router upon boot up.

Power User Tip: You do not have to "Join" a network when connected via Ethernet. Once you see an IP number appear on the LCD screen, your mixer is connected to your network and ready to be remote controlled by VSL-AI, SL Remote-AI, or QMix-AI.
If you have an IP address as shown, please immediately open SL Remote Ai and Qmix Ai, following the permissions instructions below:
StudioLive XX.4.2 AI - iOS device permissions
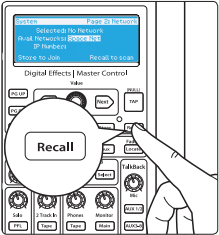
If you're using the WiFi adapter to make your network connection, the adapter will initialize and come online 20-30 seconds after booting the mixer. Once initialized, it will automatically scan for available wireless networks, or if you need to refresh the list you can press "Recall" to Scan
For instructions on connecting wirelessly to your router, continue to Step 3
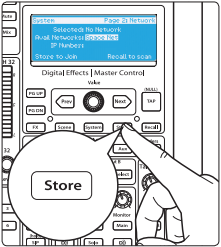
3. Scan for available networks.
4. Use the Value Encoder to scroll through the available networks.
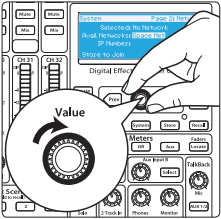
5. When you have found the network you would like to use,
press the Store button to join.
Power User Tip: Your StudioLive AI mixer ships from the factory ready to connect to any
wireless network named “StudioLive” with a password of “StudioLive”. If you configure you
wireless router with this information, your StudioLive mixer will connect as soon as you
press Store
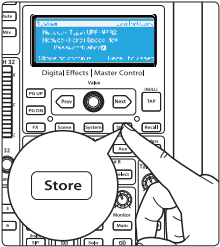
6. Use the Value encoder and Next button to enter the password for your network.
When you are done, press the Store button to connect to the network. Every time
you turn on your StudioLive AI mixer, it will look for this network and attempt to
connect to it.
Power User Tip #1: Pressing Tap to clear will actually enter a space or null character,
so to insure that the correct password is entered, press Recall to reset when on
the Password entry field, as indicated on the screen.
Power User Tip #2: the StudioLive only supports WPA and WPA2 security. If you do not see an IP
address appear within 10 seconds after pressing the Store button, verify that your router is
configured using one of these security protocols. Still having issues, see the troubleshooting
steps at the bottom of this article.
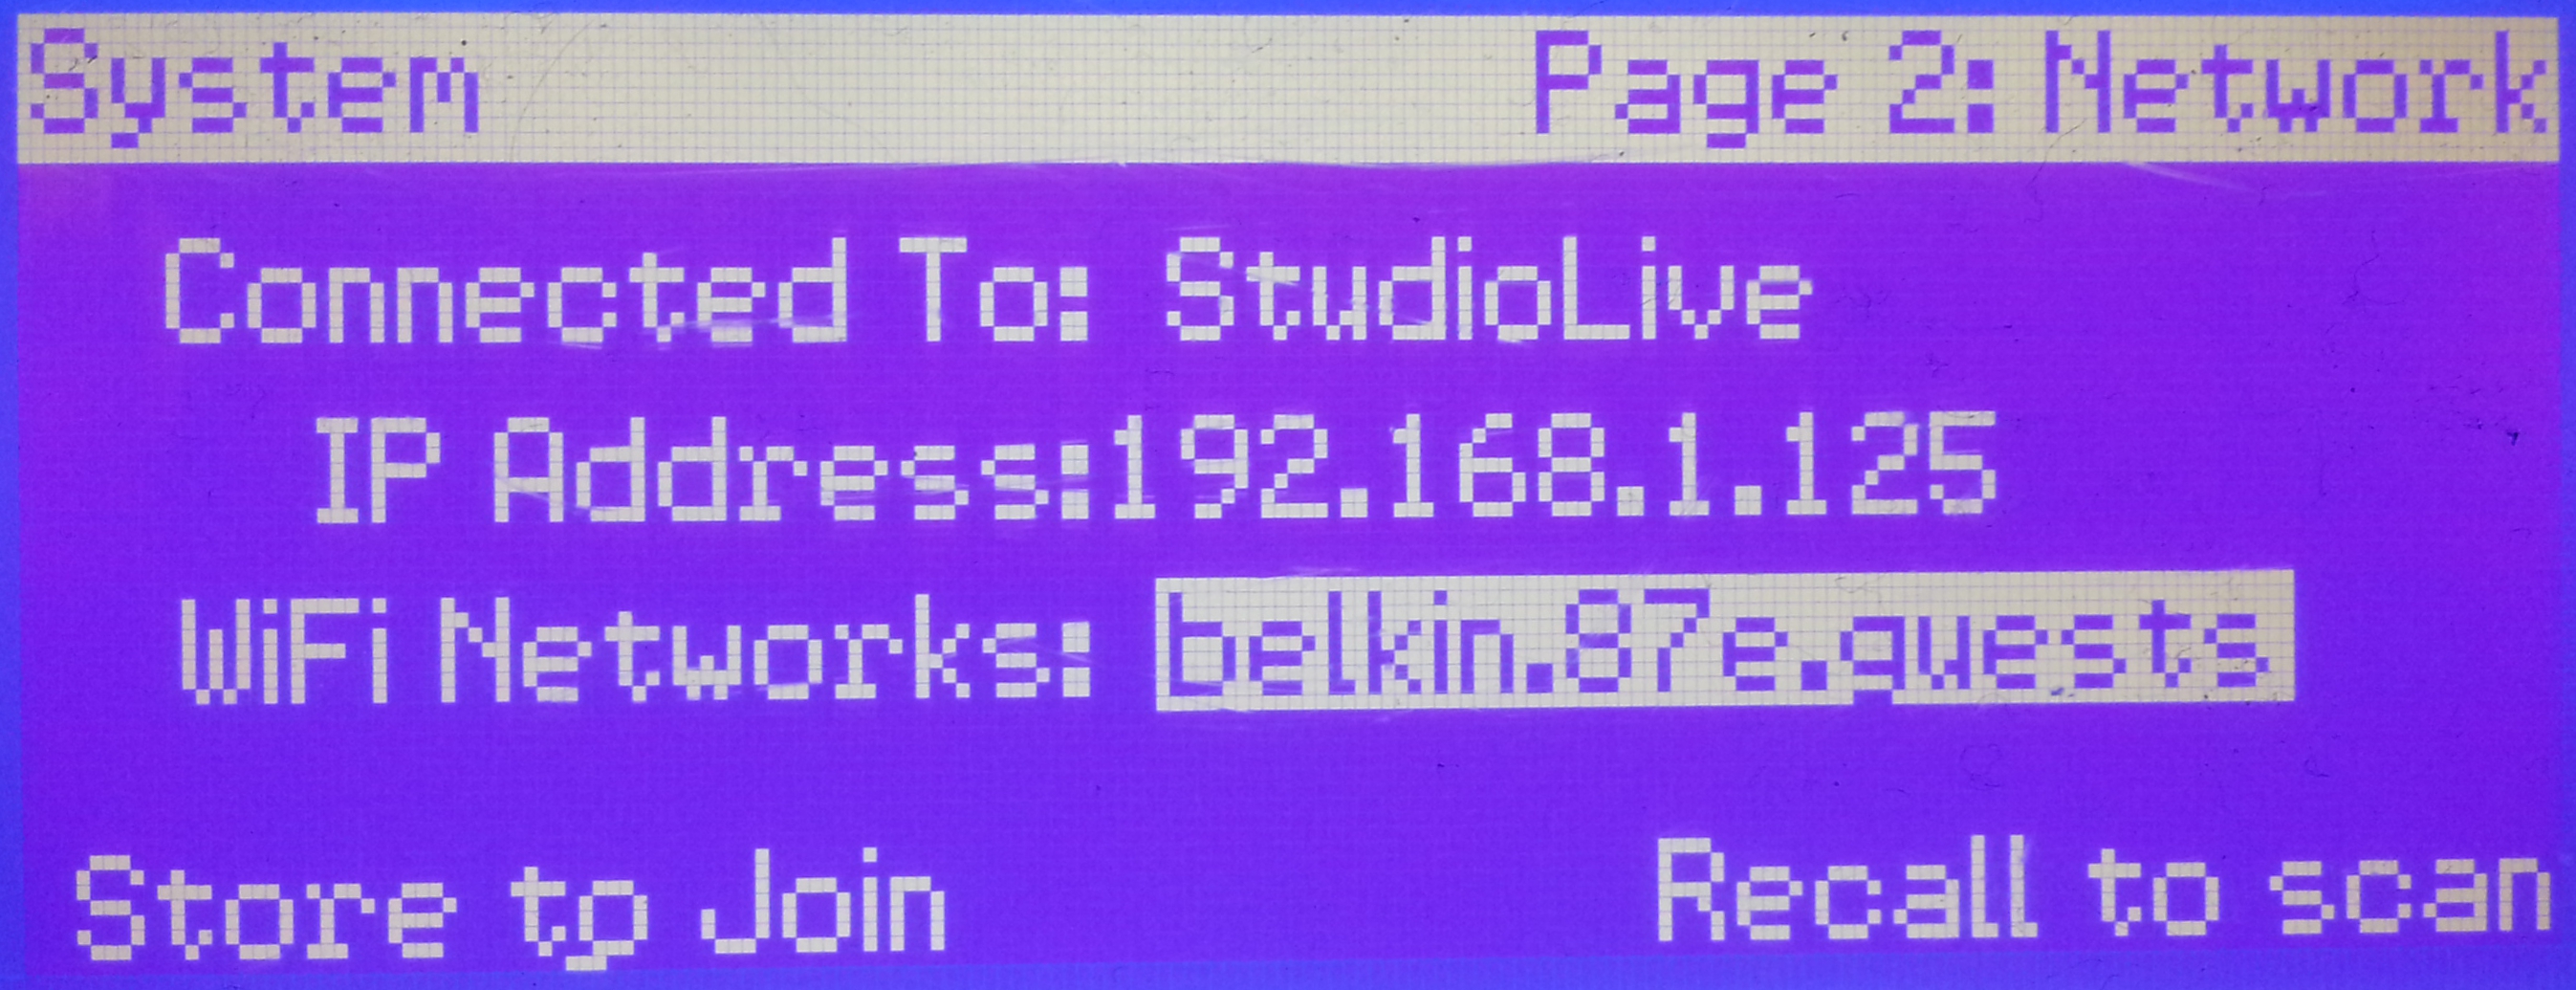
7. Once your mixer has successfully joined to your wireless
network, you will see an IP Number appear on the LCD and
your mixer is ready to be wirelessly remote controlled by
VSL-AI, SL Remote-AI, or QMix-AI.
After completing step 7, go to the below link to set the permissions for your device:
StudioLive XX.4.2 AI - iOS device permissions
**************************************
All that is necessary is to connect to the wireless network on your Mac
or PC computer given the connection type of your router.
Once connected, all Universal Control Ai and iOS devices with SL Remote
and Qmix (after setting the permissions on page 3) should function.
For assistance troubleshooting Windows and Mac Network connects,
see the links below:
Windows 7+ Network Troubleshooting
Apple Network Troubleshooting
**************************************
See these Knowledge base articles for further information:
StudioLive XX.4.2 Ai - Universal Control Ai Console
StudioLive XX.4.2 AI - iOS device permissions
StudioLive XX.4.2 AI - Connecting iOS devices to Networks
Troubleshooting your StudioLive Ai hardware connection:
-
If your mixer looks "Greyed out" and you cannot select functions on your iOS device,
make sure you have set the permissions of the device on the following link:
StudioLive XX.4.2 AI - iOS device permissions
-
Note about Wifi Dongles: At times, the wireless dongle on a StudioLive Ai mixer
might not be seated well or might not be functioning correctly.
It is important to make sure that when powering on your
StudioLive mixer, you will see a green blinking light within 30 seconds
of the mixer booting up and 45 seconds before it discovers your network.
You should new receive signal and the network should populate in the
System Menu >> Page 2 of the mixer.
-
Make sure you are using SL Remote and Qmix Ai to connect with.
These applications are specifically designed for StudioLive Ai mixer.
SL Remote AI (App Store)
Qmix AI (App Store)
-
(Network) Make sure the router is not somehow blocking the following UDP port for discovery. The SL AI
mixers will communicate over this port for wireless communication on networks:
-
Dedicated discovery Port (IANA) UDP 47809
-
Port 47809 (UDP) is used for discovery, and then a dynamically assigned TCP/UDP port from the ephemeral port range of 49152 to 65535 is assigned and used for data transfer.
NOTE: When creating a DHCP lease for a device manually (through MAC address),
make sure to go through and wireless connection setup again as sometimes powering
the device off and back on again will not cause the mixer to refresh it's IP number.