Below are steps to setup your AudioBox 1818VSL and enable the Native Low Latency Monitoring in Studio One. You must have Universal Control installed before setup in Studio One - https://www.presonus.com/support/downloads/AudioBox-1818VSL
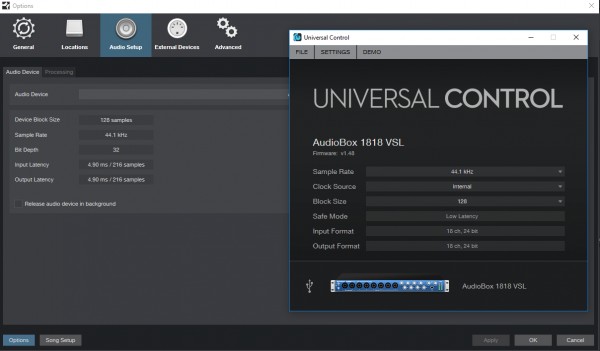
1. In Universal Control set the Block Size to 128 or 64.
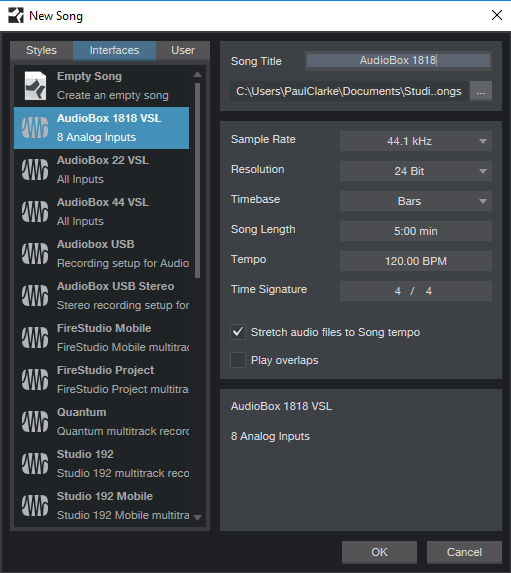
2. In Studio One, create a new song and choose the AudioBox 1818VSL template from the Interface tab.
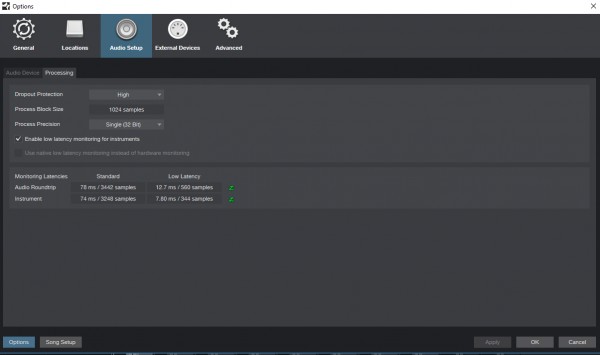
3. In Studio One go to menu, Studio One >> Preferences (Options) >> Audio Setup >> Processing and set your Dropout Protection to High or Maximum.
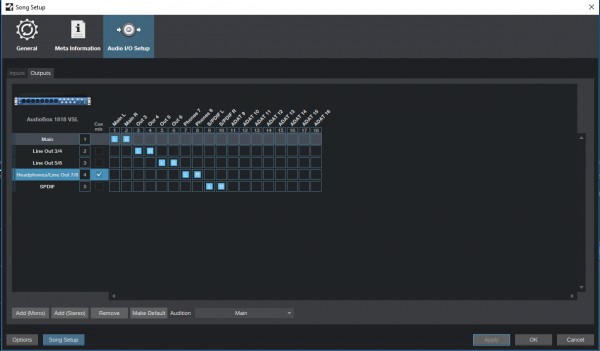
4. In Studio One go to menu, Song >> Song Setup >> Audio I/O Setup >> Outputs and create 4 stereo outputs, configure the outputs as per the settings in the screenshot. Ensure to select your Headphone Output (7/8) as a Cue Mix. Click "Apply" to confirm settings.
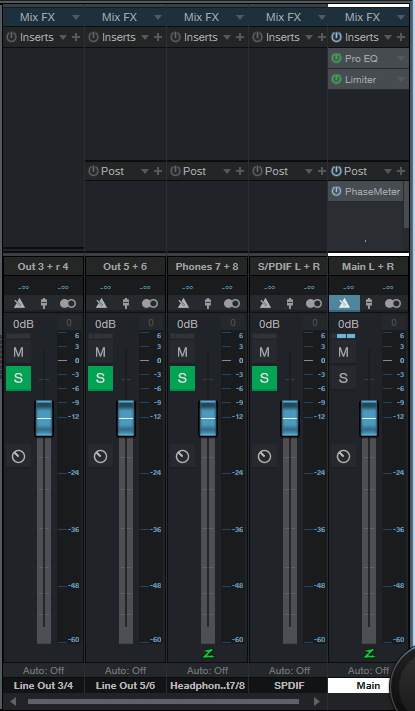
5. In the Console select Outputs Tab and on the Main Output and/or Headphone Out (7 & 8) and engage the "Z" (turns Green) Low Latency Monitoring Button.
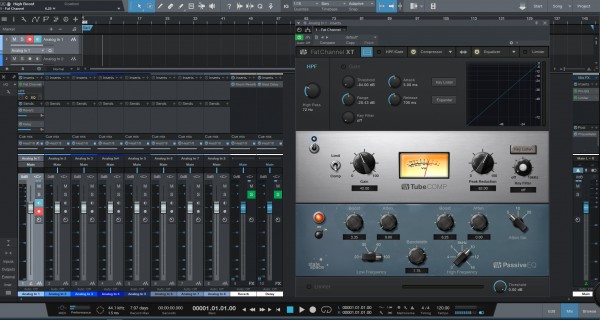
6. When the Monitor enable for any track is then engaged, it is possible to insert plugins such as EQ and Compression directly on the input channel as well as reverb/delay on sends and monitor the input with low latency.
Note that the Device Block Size and Dropout Protection settings will be dependent on your computers specs and performance. The rule of thumb to remember, is that Dropout Protection needs to be higher than Device Block Size for the Native Low Latency to be enabled.
The following links contain more info on the New Low Latency feature in Studio One 3.5 -
https://forums.presonus.com/download/file.php?id=7582&sid=d72f48f52d3501b2b2b5a65ab9502ca0
http://support.presonus.com/hc/en-us/articles/115002611926-Studio-One-3-5-Audio-Dropout-Protection-and-Low-Latency-Monitoring-FAQ